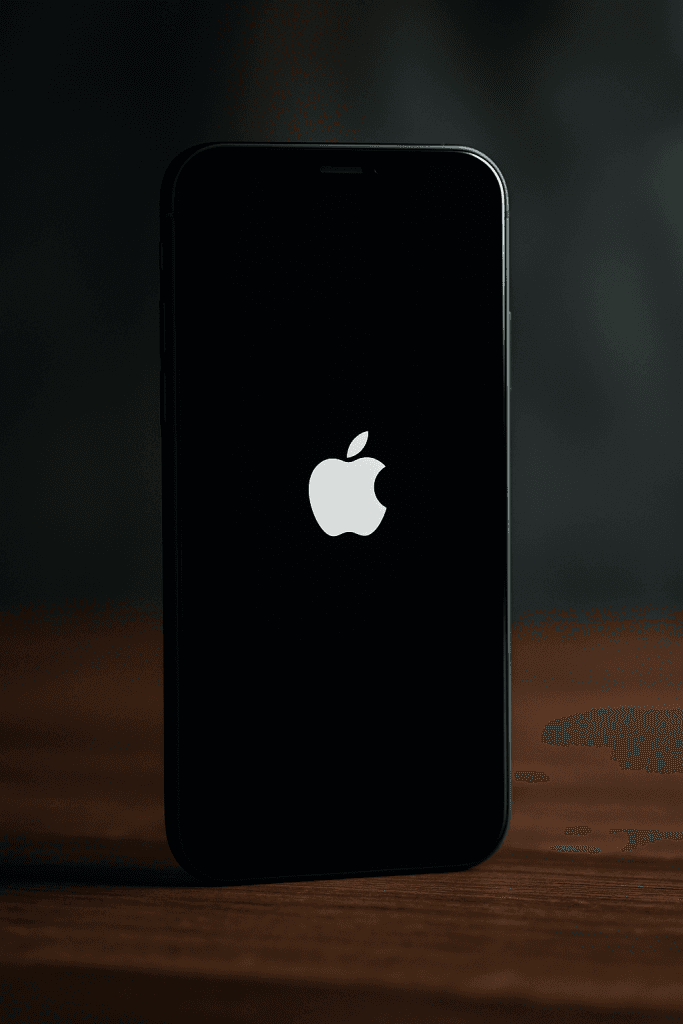
A few days ago, my iPhone 12 got stuck on the Apple logo during restart — and it wouldn’t move an inch. I thought it would just finish booting after a while, but it stayed frozen for hours. I tried everything I could find online — but nothing worked.
If you’re facing the same issue, let me save you some time:
The only thing that actually worked for me was DFU mode (Device Firmware Update mode).
Let me walk you through exactly what I did 👇
Everything I Tried (That Didn’t Work)
Before finding the fix, I went through all the common suggestions you’ll find on Google and YouTube.
- Force restart (pressing Volume Up → Volume Down → holding Power) — didn’t help at all.
- Charging the phone for hours — screen stayed stuck on the Apple logo.
- Connecting to Finder (on my Mac) — it recognized the iPhone, but it only showed a loading spinner.
- Trying to update or restore through normal Recovery Mode — at first, it looked like it worked. Finder showed progress and even restarted the phone, but right after reboot, it was stuck again on the Apple logo, exactly like before. I repeated this a few times — same result every time.
At that point, I thought I’d have to bring it to an Apple Store. But then I tried DFU mode, which surprisingly isn’t mentioned clearly in many tutorials — even though it’s often the real solution behind persistent iPhone boot loops.
The Fix: Using DFU Mode
DFU Mode is deeper than Recovery Mode — it completely reloads your phone’s firmware, which is why it can fix boot problems that normal restores can’t.
Here’s exactly how I did it (on iPhone 12):
- Connect your iPhone to a Mac or PC using a cable.
- Quickly press and release Volume Up, then quickly press and release Volume Down.
- Hold the Power (Side) button until the screen goes black.
- Once the screen is black, hold Power + Volume Down together for 5 seconds.
- Release Power, but keep holding Volume Down for another 5–8 seconds.
- If done right, your screen stays completely black — but your computer (Finder or iTunes) will detect your iPhone in DFU mode.
In Finder, I saw this message appear:
“Your Mac has detected an iPhone in recovery mode. You must restore this iPhone before it can be used.”
That’s when I clicked Restore, and after around 15 minutes, my iPhone finally came back to life — fresh, clean, and booting normally again.

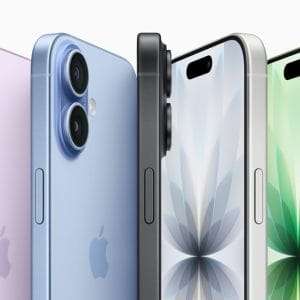
If you’re using a newer iPhone model, you might want to read my breakdown of some hidden iPhone 17 features Apple didn’t highlight — Apple’s latest software improvements may prevent this kind of issue from happening again.
I Didn’t Lose Any Data (Thanks to iCloud)
Here’s the part that really saved me: I didn’t lose anything.
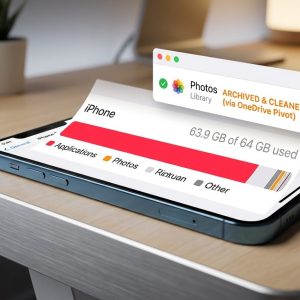
Because I’ve always kept iCloud Backup turned on and subscribed to extra iCloud storage, all my photos, messages, and app data were already backed up automatically.
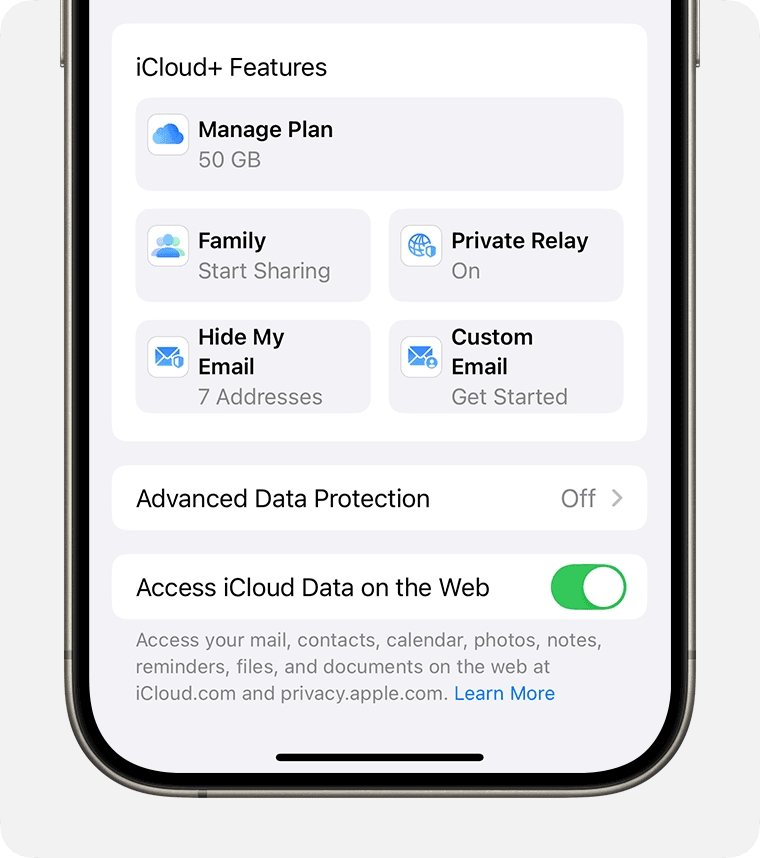
Even the latest photo I took the night before it happened was still there when I restored my iPhone. That moment made me really appreciate how seamless iCloud backup actually is — it’s definitely worth using (and paying for the extra space).
If you’re wondering whether upgrading your phone might help avoid these issues, you can also check out my full comparison of iPhone 14 vs iPhone 17 — you’ll see how newer models handle system recovery much better thanks to Apple’s latest chip optimizations.
Why DFU Mode Works (When Other Fixes Don’t)
DFU mode bypasses the usual boot process and allows iTunes or Finder to communicate directly with your iPhone’s hardware-level firmware.
So if your iOS is corrupted, half-updated, or stuck during restart, DFU mode can rewrite everything from scratch.
It’s not a widely recommended first step because it erases all data, but if you’re already stuck at the Apple logo, there’s usually not much to lose — and it might save you a trip to a repair shop.
Final Thoughts
Most tutorials say to “try Recovery Mode or wait a few minutes,” but in my experience, those didn’t help at all.
DFU mode fixed my iPhone instantly — and it’s honestly something I wish I had known earlier.
If your iPhone 12 (or even iPhone 13, 14, or 15) is frozen on the Apple logo, don’t panic — just try DFU mode before spending money on repair services.
It’s simple, safe when done right, and it might just save your day.
And if you’re planning to upgrade after this experience, don’t miss my review of the iPhone 17 Air — the thinnest iPhone ever made to see how Apple’s latest design performs in real life.
✅ Extra Tip: You can find Apple’s official guide on entering DFU or recovery mode on Apple Support’s website, but they don’t describe the exact button sequence for every model — so follow the steps above carefully.
If you’re also looking for accessory upgrades to complement your iPhone 12 experience, don’t miss my full review of the Xiaomi Buds 6 — premium sound without the premium price.