Creating your own DIY home server for personal cloud storage can be a rewarding project. It provides you with more control over your data, offers a cost-effective solution compared to commercial cloud services, and enhances your technical skills. This guide will walk you through the process of setting up a DIY home server from scratch, including hardware, software, and configuration.

1. Plan Your Home Server
Before diving into the hardware and software, it’s important to plan your setup:
- Determine Your Needs: Consider how much storage you need, what kind of data you’ll be storing, and whether you require remote access.
- Budget: Decide on a budget that includes hardware, software, and any additional peripherals.
2. Gather Hardware Components
You’ll need several hardware components to build your home server:
- Server Hardware: You can repurpose an old PC or buy dedicated server hardware. For a basic setup, an old desktop PC with a decent processor (like an Intel Core i3 or AMD Ryzen 3) and at least 4GB of RAM should suffice.
- Storage: Depending on your needs, you can use internal hard drives or external USB drives. Brands like Western Digital and Seagate offer reliable hard drives for home use.
- Network Connectivity: Ensure you have a stable network connection. A wired Ethernet connection is preferred for better stability and speed.
- Power Supply: A reliable power supply unit (PSU) is crucial to ensure your server runs smoothly.
3. Choose Your Operating System
The operating system (OS) you choose will determine the server’s capabilities and ease of management. Here are some popular options:
- Ubuntu Server: A user-friendly Linux distribution that’s well-documented and widely used.
- FreeNAS/TrueNAS: A specialized OS for network-attached storage (NAS), ideal for managing and sharing files.
- Windows Server: For those familiar with Windows, this option offers a comprehensive range of features.
4. Install and Configure the Operating System
- Download the OS: Obtain the ISO file from the official website.
- Create a Bootable USB Drive: Use tools like Rufus (for Windows) or Balena Etcher (for Mac/Linux) to create a bootable USB drive.
- Install the OS: Insert the bootable USB into your server hardware and boot from it. Follow the installation prompts to set up the OS.
- Initial Setup: Configure basic settings such as network configuration, user accounts, and system updates.
5. Set Up Your Storage
- Partition Your Drives: Use disk management tools provided by your OS to partition and format your drives. Allocate space for system files and data storage.
- RAID Configuration (Optional): For added redundancy, consider setting up a RAID array. RAID 1 (mirroring) or RAID 5 (striping with parity) are popular choices for home servers.
6. Install and Configure Cloud Storage Software
Several software options allow you to create a personal cloud:
- Nextcloud: A popular, open-source cloud platform that supports file sharing, collaboration, and more. Install it using the official Nextcloud documentation.
- ownCloud: Another robust option for personal cloud storage with similar features to Nextcloud.

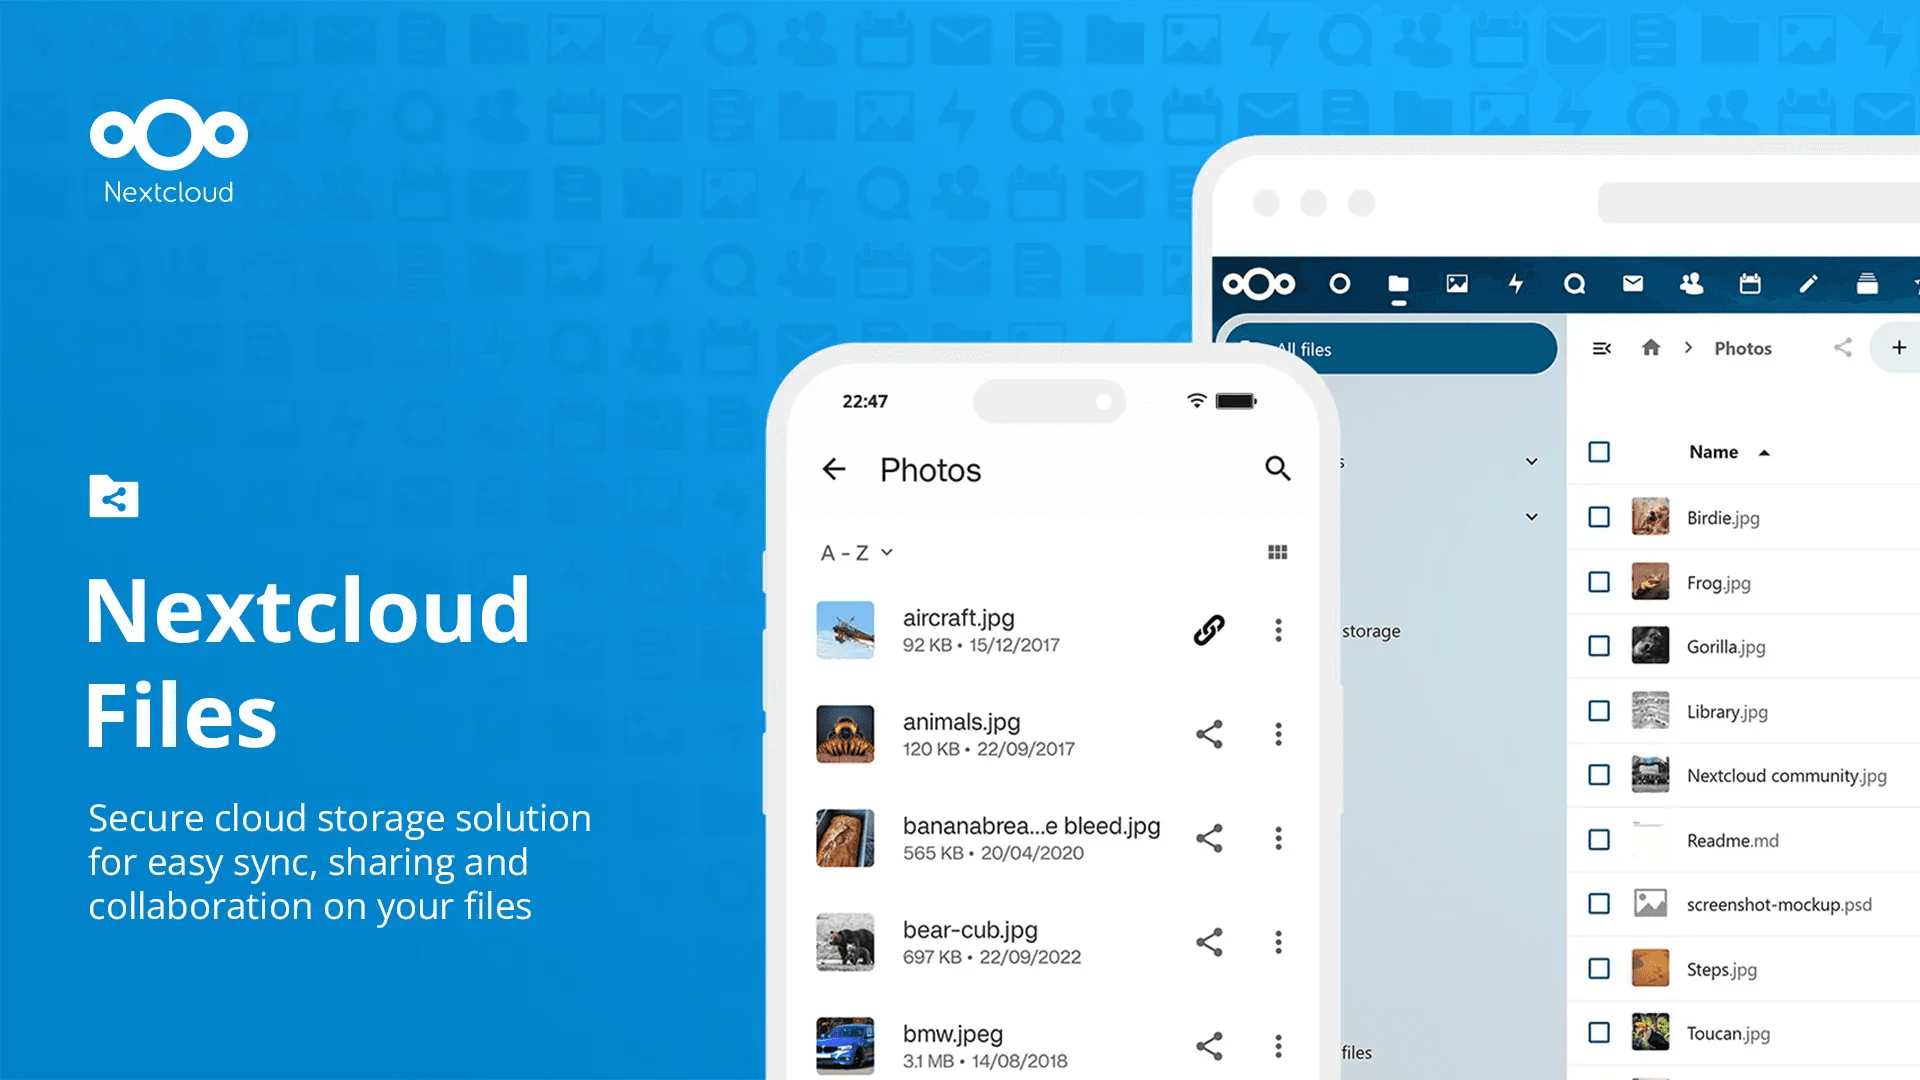
Installation Steps for Nextcloud:
- Install Dependencies: Make sure you have a web server (like Apache), PHP, and a database server (like MySQL) installed.
- Download Nextcloud: Obtain the latest version from the Nextcloud website.
- Configure Nextcloud: Follow the installation guide to set up the database, configure the web server, and complete the Nextcloud setup.
7. Configure Remote Access
To access your personal cloud from outside your home network:
- Dynamic DNS: Use a Dynamic DNS service (e.g., No-IP, DynDNS) to assign a domain name to your home IP address.
- Port Forwarding: Configure your router to forward traffic from the internet to your server. Access your router’s settings and set up port forwarding for HTTP (port 80) and HTTPS (port 443).
- Secure Your Connection: Set up SSL/TLS certificates to secure your connection. Let’s Encrypt offers free SSL certificates.
8. Backup and Security
- Regular Backups: Implement a backup strategy to protect your data. Use external drives or cloud backup services for redundancy.
- Firewall and Security: Configure your firewall to restrict access to your server. Regularly update your OS and software to protect against vulnerabilities.
9. Maintain and Monitor Your Server
- System Monitoring: Use tools like Grafana or Nagios to monitor your server’s performance and health.
- Regular Updates: Keep your system and software up to date to ensure security and stability.
Examples of Hardware Providers
- Western Digital: Known for reliable hard drives suitable for home servers.
- Seagate: Offers a range of storage solutions, including high-capacity drives for extensive data storage needs.
Conclusion
Setting up a DIY home server for personal cloud storage can be an empowering project. With the right hardware, software, and configuration, you’ll have a powerful tool for managing your data securely and efficiently. Follow these steps to create a robust and functional home server tailored to your needs.
If you need further guidance or run into issues, there are numerous online forums and communities dedicated to home server setups where you can seek advice and support.
Even if you focus on infra, today’s developers use AI tools too — see my practical notes and tool list in AI Tools for Programmers in 2025: https://christechno.com/2025/10/06/🧠-ai-tools-for-programmers-in-2025-how-the-way-we-code-has-completely-changed/